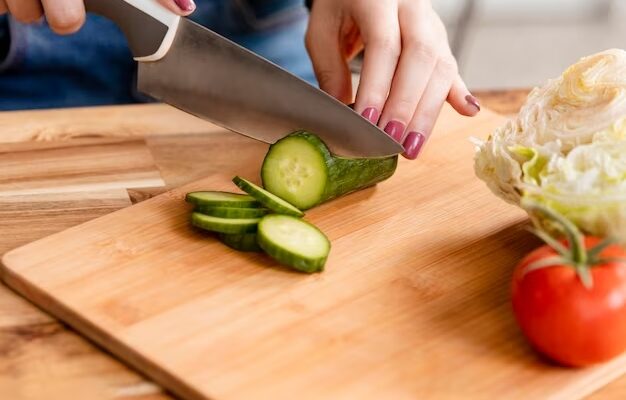
If you have an old, worn-out cutting board that has seen better days, don’t rush to replace it just yet. With the right care and attention, you can breathe new life into your trusty kitchen companion. One of the most effective ways to revitalize an old cutting board is by restoring it with wood cutting board oil. In this guide, we’ll take you through the step-by-step process of bringing your cutting board back to its former glory.
Understanding the Need for Restoration:
Over time, cutting boards endure a great deal of wear and tear. Constant exposure to moisture, heat, and the sharp edges of knives can lead to cracks, warping, and a dull appearance. If you notice your cutting board looking dry, rough, or discolored, it’s a clear sign that it’s time for some rejuvenation.
Materials You’ll Need:
Wood Cutting Board Oil: Choose a high-quality, food-grade wood cutting board oil. Mineral oil and beeswax combinations are popular choices.
Fine Sandpaper: Select a fine-grit sandpaper (around 220-grit) to smooth out any rough spots on the cutting board.
Clean, Lint-Free Cloth: Use a soft cloth for applying the oil and buffing the cutting board.
Warm, Soapy Water: Clean the cutting board thoroughly before beginning the restoration process.
Step-by-Step Restoration Process:
Clean the Cutting Board:
Start by cleaning the cutting board with warm, soapy water. Use a sponge or cloth to remove any food particles, stains, or bacteria. Allow the board to air dry completely.
Sand the Surface:
Once the cutting board is dry, inspect it for any rough spots, scratches, or deep cuts. Gently sand the surface using the fine-grit sandpaper, working in the direction of the wood grain. This step helps to create a smooth and even surface for the oil to penetrate.
Apply Wood Cutting Board Oil:
Pour a small amount of wood cutting board oil onto the board’s surface. Use a clean, lint-free cloth to spread the oil evenly, making sure to cover the entire surface. Allow the oil to soak into the wood for at least 20-30 minutes, or as per the manufacturer’s instructions.
Reapply as Needed:
For severely dried or damaged cutting boards, you may need to repeat the oil application process several times. This ensures that the wood absorbs an adequate amount of oil, restoring its natural moisture and preventing further damage.
Buff the Board:
After the oil has had time to penetrate the wood, use a clean cloth to buff the cutting board. This removes any excess oil and gives the surface a polished, smooth finish.
Let it Cure:
Allow the cutting board to cure for at least 24 hours before using it again. This gives the oil ample time to fully penetrate and nourish the wood.
Benefits of Using Wood Cutting Board Oil:
Restores Moisture: Wood cutting board oil helps to replenish the natural oils in the wood, preventing it from becoming overly dry and prone to cracks.
Enhances Appearance: Regular oiling not only restores moisture but also brings out the natural colors and patterns in the wood, giving your cutting board a vibrant and refreshed look.
Increases Lifespan: Proper maintenance with wood cutting board oil can significantly extend the lifespan of your cutting board, saving you money in the long run.
Conclusion:
Revitalizing your old cutting board with wood cutting board oil is a simple yet highly effective way to extend its life and keep it in top condition. By following these easy steps, you can transform your worn-out cutting board into a kitchen essential that looks and performs like new. Don’t let an old cutting board go to waste—give it the care it deserves and enjoy many more years of chopping, slicing, and dicing in your kitchen.


Comments